
Designing a personalized embroidered patch is a creative process that allows you to express identity, celebrate special moments, or enhance apparel and accessories. Whether the patch is for a brand, club, event, or personal use, following a structured process helps ensure the final design is clear, durable, and visually appealing. This step-by-step guide walks you through the essential stages of creating a personalized embroidered patch.
Define the Purpose of the Patch
Before starting the design, identify why the embroidered patch is being made. Understanding the purpose will influence the size, colors, and style.
• Team or club identity
• Event participation or souvenirs
• Personal fashion or artistic expression
• Brand logos and promotional designs
• Award or achievement patches
A clear purpose helps guide every design decision that follows.
Choose the Shape of the Patch
The patch shape is one of the most important visual elements. It sets the tone of the design and determines how the artwork fits.
• Circles for classic badge-style designs
• Rectangles for simple and balanced layouts
• Shields for sports, security, or club themes
• Custom shapes for creative or symbolic artwork
• Freeform outlines for unique silhouettes
Selecting a shape that complements the artwork ensures stronger visual harmony.
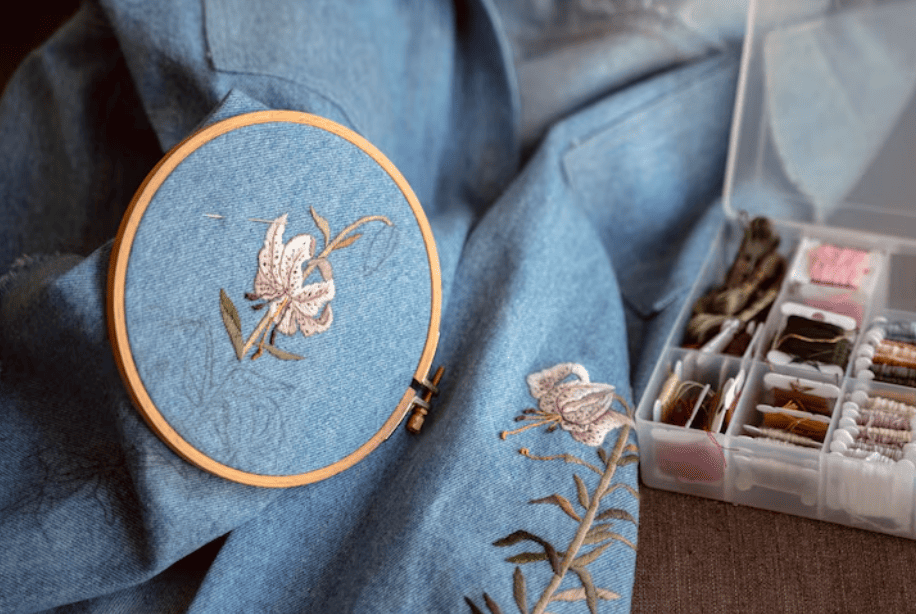
Sketch or Create the Initial Artwork
Every personalized embroidered patch begins with a clear sketch or digital design. Keeping the artwork simple makes it more embroidery-friendly.
• Use bold lines to define shapes
• Avoid tiny or overly complex details
• Keep text short and readable
• Ensure icons and symbols are recognizable
• Test the artwork in small sizes to check clarity
Simple artwork often results in sharper and more attractive embroidery.
Plan the Color Palette
Color plays a major role in making the embroidered patch stand out. Balanced color selection improves both readability and visual appeal.
• Use high-contrast combinations
• Limit colors to avoid visual clutter
• Match brand or event colors if relevant
• Use specialty threads for emphasis
• Choose background and thread colors that complement each other
A well-planned palette brings life and clarity to the patch.
Select the Right Base Material
The base material affects both durability and appearance. Each fabric offers a different texture and visual character.
• Twill for versatile and clean results
• Felt for artistic or vintage themes
• Canvas for rugged or outdoor patches
• Specialty fabrics for unique styles
Choosing the right material ensures the embroidered patch stays durable and visually consistent.
Choose the Thread Type
Thread selection affects texture, shine, and overall appearance. Different threads suit different patch purposes.
• Polyester thread for durability and fade resistance
• Rayon thread for smooth and shiny finishes
• Metallic or neon threads for bold highlights
• Specialty threads for unique themes
The right thread enhances visual quality and ensures long-lasting color.
Decide on the Backing Type
Backing determines how the embroidered patch will attach to garments, bags, or accessories.
• Iron-on for easy and fast application
• Sew-on for long-term durability
• Velcro for removable or interchangeable patches
• Adhesive for temporary designs
Choosing the right backing ensures the patch fits the intended use perfectly.
Finalize the Size and Layout
The final size should suit the item where the patch will be placed. Good proportions help the design stand out naturally.
• Small patches for hats, sleeves, or pockets
• Medium patches for shirts, bags, or vests
• Large patches for jackets, backpacks, or statement pieces
• Ensure text remains readable at chosen size
Proper sizing ensures the embroidered patch feels balanced and intentional.
Review and Prepare for Production
Before sending the design to production, reviewing all elements is essential to avoid errors and ensure high-quality results.
• Check thread paths and stitch clarity
• Confirm color accuracy
• Ensure text is readable
• Review borders and edge finishing
• Verify size and shape
A final detailed review ensures the embroidered patch meets expectations.
Conclusion: Create a Meaningful Personalized Patch
Designing a personalized embroidered patch is a rewarding process that combines creativity, planning, and thoughtful material selection. By following these steps—defining purpose, choosing the right shape, planning colors, selecting materials, and reviewing details—you can create a meaningful embroidered patch that is visually appealing, durable, and uniquely expressive.